How to Protect Your Website from Brute Force Attacks
Brute-force attacks are one of the top attack vectors for sites built using WordPress. They have increased tremendously over the years, and by the close of 2021, they were up by 160%.
Cybercriminals use these attacks to steal private data, inject malware, and take sites offline. In this post, we explain brute force attacks and show you practical ways to protect your WordPress sites from hackers.
Key takeaways
- Update weak login credentials
- Enable two-step authentication
- Install a brute force protection plugin.
What is a brute force attack?
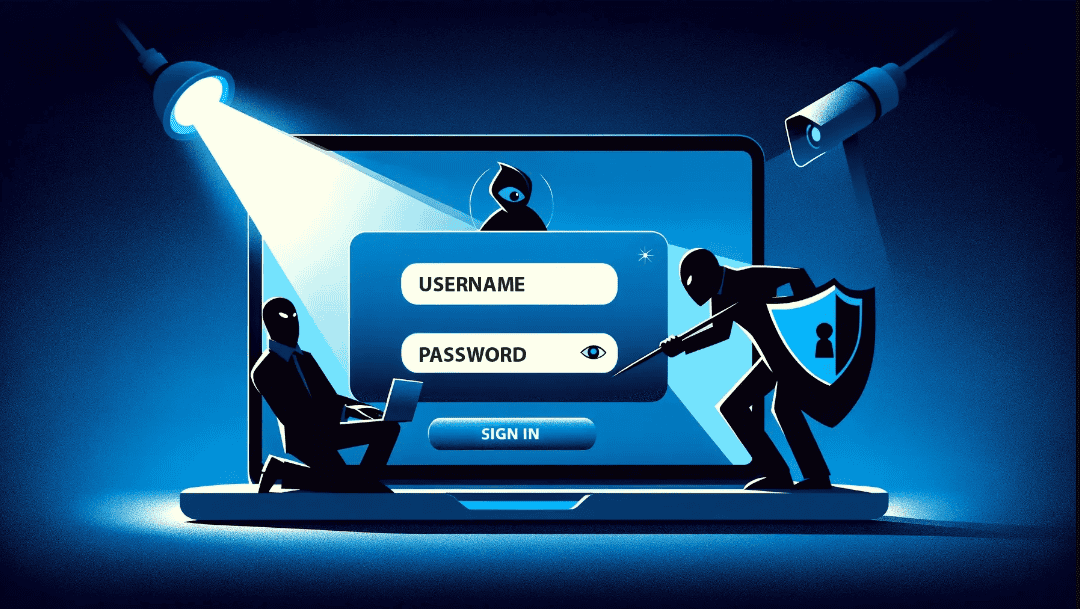
A brute force attack occurs when a hacker attempts to access your website using trial and error. Think of it like trying different single keys on a lockbox until you find the right one. Often, hackers use software tools to guess possible password and username combinations within a short time until they finally find the one that works.
The primary targets of brute force attacks on WordPress include:
- WordPress login page – the default login area for WordPress sites.
- WordPress admin directory – the directory that has all the admin folders and files.
- Individual user accounts – hackers may also target accounts belonging to website administrators or users with privileges.
Hackers often exploit vulnerabilities on WordPress sites, such as outdated WordPress core files and outdated WordPress themes. They also use outdated plugins as a gateway and older PHP versions.
After launching a successful brute force attack, hackers can add malware to your site and steal private data. They can also deface your website or delete existing content. Ultimately, your reputation will be ruined, and your search rankings will suffer. Because of these dangers, you’ll want to protect your WordPress website.
Here are measures you can take to keep your wesite secure from hackers.
How to Prevent Brute Force Attacks on WordPress
Take these measures to protect your website from brute attacks.
Step 1: Change your username
Since hackers will guess login details, you want to update your WordPress login username. Choose a difficult-to-guess username. WordPress uses “admin” as the default username. If this is your username, make sure you change it to something unique.
To view the current username, login to the WordPress dashboard then go to
Users → Profile. The username is the first item in that section.
Skip this step if you already have a unique username.
Note: You can’t change the username directly from the dashboard. You can do this from your cPanel or database. An easier way to go around this is to create a new WordPress username then assign the same privileges as an administrator. You’ll have to use a new email address for the new user.
To add a new user, go to Users → Add New. Enter the new username and email address on their respective fields, then set the user role as Administrator.
Next, sign out of WordPress and use the new username to log back into the dashboard. Then, navigate to the All Users page and click delete underneath the admin user role. That’s it.
Remember to assign the content to the new username before deleting the old username; otherwise, your content will be deleted.
Change your username from the database
If you want to change your username, you must do so through your WordPress database. Only attempt this method if you are familiar with PhPMyAdmin – the MySQL database management tool. Follow these steps to change the username:
To change your username, take the following steps:
- Navigate to the phpMyAdmin tool in the cPanel or DirectAdmin of your hosting account.
- Click on your site’s WordPress database on the left-hand side to view the database tables.
- Click on the wp-users table. WordPress uses the wp_ prefix by default.
- Find the username you can to change, which is “Admin” then click edit.
- Type a new username in the user_login field
- Click the Go button at the bottom of the page to save the changes.
That’s all it takes to change your username. And you can now use it to log in to your WordPress site.
Step 2: Create a strong password
Another way to deter brute force attacks is to create a strong password for your WordPress website. Hackers often use botnets to guess random passwords, so it helps to have a unique password with a string of number and letters.
Make sure the new password has the following:
- 10 to 50 characters
- Uses both uppercase and lowercase letters
- Uses numbers and alphanumeric characters
- 100% unique from your other account passwords
To update your admin password, navigate to Users → Profile then, scroll down to Account Management.
Click on Set New Password, and WordPress will generate a new, stronger password for you,
You can use the new auto-suggested password or create an entirely new password.
Pro tip: We suggest that you use a random password generator to create a new, secure password for your WordPress site. It will create a stronger password that combines letters, numbers, and symbols.
Once you generate the new password, scroll down and click on Update profile to save the changes.
Be sure to change the password at least quarterly to keep the website secure.
Step 3: Add two‑factor authentication
WordPress users, by default, often log in with their username and password. This is known as single-step authentication. However, you can implement a two-step authentication to protect your website.
Two-step authentication requires that you confirm your identity using an SMS, or another device after you enter your password.
Jetpack plugin can help you implement two-step authentication on your WordPress site.
- Go to the plugins section in the dashboard, then search, install, and activate Jetpack.
- Next, click on Manage Security settings. Scroll down and click on WordPress login.
- Create a new username and password for the Jetpack account.
A popup message that says “Jetpack is successfully connected.” will appear in a few seconds.
Open Jetpack settings, scroll down to the botto, and toggle the option that says require accounts to use WordPress.com Two Step Authentication.
Visit the WordPress.com two-step authentication page to set up your two-factor authentication with SMS or app.
If you choose the app authentication method, you will need to download an authenticator app like Google Authenticator. WordPress will provide you with a QR code, which you have to scan with the app to generate a security code.
Alternatively, you can set up the SMS authentication option. Simply enter the phone number that you want to use. You will receive a code, and you can start using the two-factor verification.
Using the two-factor method, you can verify your identity whenever you log in and protect your WordPress site against brute force attacks.
Limit Login Attempts
Step 4: Install a brute force attack protection plugin
You can further bolster WordPress security by installing a brute force protection plugin. Several plugins are available. Look for a plugin that supports these features:
- Limits log-in attempts
- Web application firewall
- Two-factor authentication
- Blocklists IP addresses
Jetpack Security offers all the above features, so it’s your safest bet if you want to implement brute force protection on your website. It also prevents attacks, allows you to scan the site for malware, generates automatic backups, and prevents spamming.
To enable brute force protection, go to the Jetpack dashboard and toggle the switch button under the Brute force protection section.


