WordPress Migration Checklist for 2025
Want to migrate your WordPress from your current hosting service to another hosting provider? Don’t worry—this simple WordPress migration checklist for 2025 covers everything from preparation to post-migration tasks. Follow these steps to ensure a smooth migration without loss of data or downtime.
Before You Migrate WordPress
First things first, before you make that move, here’s what you need to do.
1. Backup Your Current WordPress Site
Use a reliable backup plugin like UpdraftPlus or BackupBuddy to create a full backup of your WordPress site, including databases, themes, plugins, and media files.
Once you do that, download a copy of the backup to your local machine.
2. Select a New Hosting Provider or Server
Choose a hosting plan that fits your current and future needs. You have three options.
- Shared hosting – As the name says, you typically share hosting resources with other users. It’s good for small, personal or portfolio sites with a handful of pages.
- VPS hosting – If you have medium-traffic websites or online stores, consider VPS. It offers more control and resources as well as better performance than shared hosting.
- Dedicated hosting) – It’s the best option for high-traffic e-commerce websites, applications or media sites that require dedicated resources.
3. Set Up Your New Hosting Environment
Ensure the new server has the latest version of PHP (at least 7.4 or newer).
Install a fresh instance of WordPress on the new server.
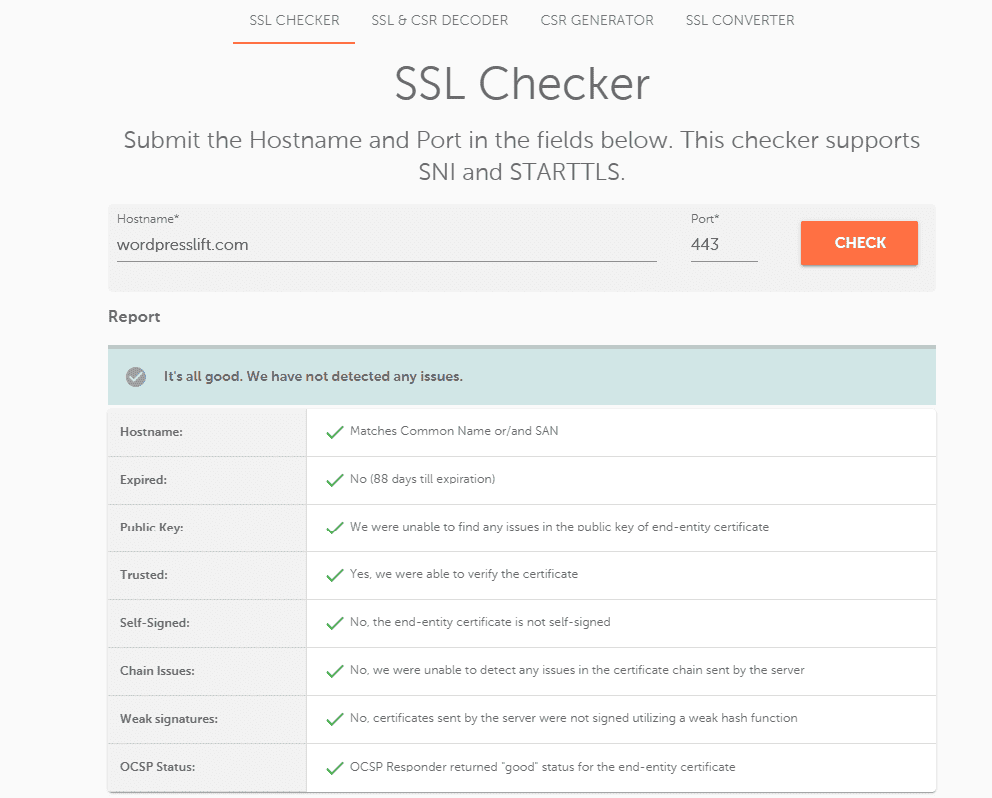
Set up an SSL certificate on the new server.
4. Check DNS Settings
If you plan on switching domain registrars or servers, ensure your DNS settings are configured properly.
Prepare to update your domain’s nameservers to point to the new server.
Migration Process:
5. Transfer WordPress Files
Use cPanel’s File Manager or an FTP client (e.g., FileZilla) to upload all WordPress files (including wp-content) to the new server.
Make sure the file and folder permissions are correct on the new server.
6. Export and Import the Database
Use phpMyAdmin in cPanel to export your WordPress database from the old server.
Create a new database on the new server and import the exported database using phpMyAdmin.
7. Update wp-config.php
Edit the wp-config.php file on the new server to point to the new database (update DB_NAME, DB_USER, and DB_PASSWORD).
If necessary, update the home and site URL values in the database (e.g., using phpMyAdmin or a plugin like Better Search Replace).
8. Test the Site Before Changing DNS
Use a temporary URL or IP address (provided by your hosting provider) to test the site before switching DNS.
Check for missing images, broken links, and any issues with plugins or themes.
Post-Migration Tasks:
After migrating your WordPress website, you also want to do the following.
9. Update DNS Records
Update the DNS settings for your domain to point to the new server’s IP address or nameservers.
It may take 24-48 hours for DNS changes to propagate.
10. Check Site Functionality
Thoroughly test the site to ensure all pages, posts, plugins, themes, and custom functionalities are working correctly.
Check for broken links using tools like Broken Link Checker.
11. Fix Permalinks
Go to Settings > Permalinks in the WordPress dashboard and simply click “Save Changes” to flush the rewrite rules and ensure all URLs are correct.
12. SSL and Security

Ensure your SSL certificate is working properly on the new server.
Test the HTTPS version of your site to ensure there are no mixed-content issues.
Run a security check to confirm that no vulnerabilities have been introduced during the migration.
13. Test Site Speed
Use tools like GTmetrix or Google PageSpeed Insights to check the site speed and optimize the server for better performance if necessary.
Ensure that your hosting plan provides adequate resources for optimal performance.
14. Test Emails
Ensure that WordPress emails (e.g., notifications, password resets) are being sent from the new server.
Check your email spam folder to ensure the server is not being flagged.
15. Update Google Analytics and Search Console
If the server change impacts your site’s IP address or domain, update the settings in Google Analytics and Google Search Console to reflect the changes.
16. Clean Up Old Files
Once you’re confident that everything is working on the new server, clean up old files and databases on the old server to prevent any unnecessary clutter.
17. Monitor the Site
Monitor the site for 1-2 weeks after migration to ensure everything is functioning properly, including site speed, emails, and uptime.
Be prepared for any issues that arise and have your hosting provider on standby if needed.
Summary of WordPress Migration Checklist
Pre-migration | Back up your current site, select a new hosting provider, set up the new hosting environment, and check DNS settings. |
Transfer files | Use cPanel’s File Manager or FTP to upload files to the new server. |
Export and import database | Export your database using phpMyAdmin and import it to the new server. |
Update wp-con | Modify the wp-config.php file to point to the new database and adjust site URLs if necessary |
Test before DNS switch | Test the site using a temporary URL to check for functionality before updating DNS. |
Update DNS records | Update the domain’s DNS settings to point to the new server’s IP address or nameservers. |
Test website functionality | Ensure all pages, plugins, themes, and custom features work correctly. |
Fix permalinks | Refresh the permalinks to ensure URLs are correctly mapped. |
Check SSL and security | Ensure SSL is active and secure and there are no mixed-content issues. |
Test website speed | Check the site’s speed using tools like GTmetrix or Google PageSpeed Insights. |
Test emails | Confirm that email functionalities are working correctly from the new server. |
Update analytics and console | Update Google Analytics and Search Console with the new domain/hosting info. |
Clean up old files | Remove unnecessary files from the old server once migration is complete. |
Monitor your website | Monitor for 1-2 weeks to catch any issues and ensure proper functionality. |
Top 5 FAQs for WordPress Migration
What’s the easiest way to migrate WordPress to a new host?
The easiest way is using a migration plugin like All-in-One WP Migration or Duplicator, which can automate the process of transferring files and databases.
Will my site experience downtime during the migration?
There may be some temporary downtime, but if you use a staging environment or a temporary URL for testing, you can minimize this to a few hours.
Do I need to reconfigure my plugins after migration?
Generally, plugins should work as they did on the old server, but you might need to update plugin settings or reconfigure paths if the migration affects them.
How can I prevent SEO issues after migration?
Ensure your URLs remain the same, update Google Search Console, and test the site’s internal linking and redirection rules to avoid SEO penalties.
What should I do if something goes wrong during migration?
If something goes wrong, restore your backup from the old site and review your migration steps. Contact your hosting provider or seek professional help if needed.


